Screen size depends on viewing distance: The front row should be at least 1.5 times the screen width away. More important than the material is wind protection, as a taut screen acts like a sail. Here you will find size recommendations, location tips, a DIY frame to build, and alternatives.

To set up a screen in the garden professionally, you need a sturdy frame made of wooden slats, a tightly woven white polyester or cotton cloth, and storm-proof bracing with nylon cord and ground anchors. Beyond building the frame, the perfect outdoor setup requires a dark, wind-protected location and enough space for the projector. This guide provides a complete construction manual for your DIY home cinema, explains how to calculate the optimal screen size, and shows you how to perfectly align your projector and projection surface.
Want to set up a screen in the garden and need a concrete plan? This article provides the complete guide, from building the frame and choosing the right screen size to the optimal projector distance. Whether for a movie night with friends, exciting soccer broadcasts, or outdoor events: with just a few tools and the right materials, you can build a cinema screen that easily rivals expensive ready-made products. If the effort of building one for a single weekend is too much, or you simply lack the tools, you can always rent storm-proof outdoor screens and high-brightness projectors from Renty with no deposit required.
Before you start building, the most important question: Do you really need a DIY screen, or will a ready-made solution suffice? There are several ways to create a projection surface in the garden.
| Option | Pros | Cons |
|---|---|---|
🛠️ DIY frame screenWooden slats + cloth | AffordableCustomizableSturdy | Construction effortStorage required |
📜 Roll-up or tripod screenMobile ready-made solution | MobileQuick setup | Less flatSusceptible to wind |
🎈 Inflatable screenWith pump and blower | Very quick setupStable base | More expensive to purchasePump required |
🛏️ Bed sheet or duvet coverDIY emergency solution | Immediately availableFree | Wrinkles in the fabricFlutters in the windPoor visual quality |
🏠 House wallWhite and smooth | No assembly required | Rough surfaces distort the image |
For a good picture, you need a smooth, white projection surface. A white, tightly woven cotton or polyester cloth reduces texture artifacts in the projected image. A bed sheet or duvet cover works as an emergency solution, but it won't provide a clean look. Linen is another alternative, though it is often too coarsely woven. If you want to watch movies in the garden regularly, you should build your own frame screen. The choice of material determines the image quality.
Building a DIY screen can be done in an afternoon with a bit of manual skill. You will need a second person to help set it up and a few basic tools.
Materials list:
Step 1: Build the frame. Cut the wooden slats to your desired screen width and height. Spruce and fir are lightweight, sturdy, and affordable. Screw the slats into a rectangular frame and reinforce the corners with brackets. Using larger cross-sections will reduce sagging under wind load. Apply a protective coating to shield the wood from moisture.
Step 2: Attach the fabric. Lay the fabric over the frame and pull it taut evenly. Use a cordless or electric staple gun to fasten it to the back of the wooden slats. Work from the center outward to avoid wrinkles. Duct tape on the edges will prevent the fabric from tearing. If the fabric is wrinkled, lightly spray the back with water. As it dries, the fabric will contract and smooth out.
Step 3: Set up and secure. Place the screen in your chosen spot and secure it against the wind using nylon cord, tension ropes, and ground anchors. Basic knot-tying skills are sufficient for securing it. Quick-release fasteners allow for rapid dismantling if rain is forecast.
Planed spruce or fir slats are the most common material for outdoor screens because they are available at any hardware store and can be worked without special tools. If you want the frame to be collapsible later, screw the corners together instead of gluing them.
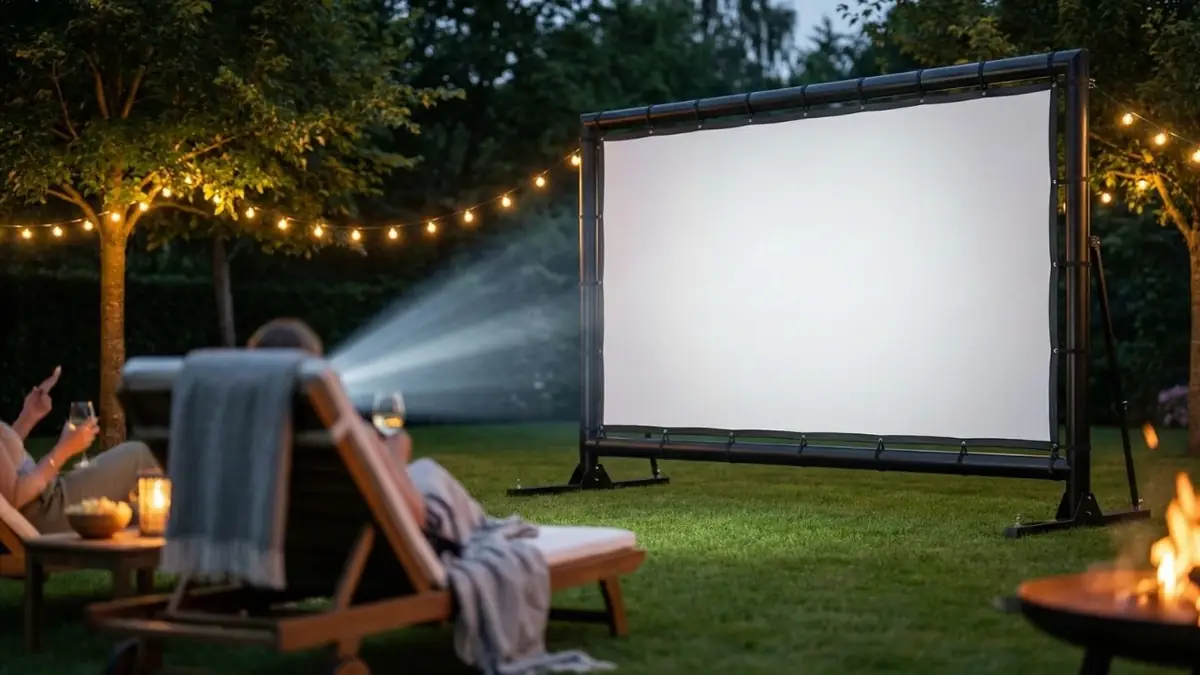
The size depends on where your guests are sitting. As a rule of thumb, the front row should be at least 1.5 times the screen width away; otherwise, the pixel structure becomes visible in Full HD. For a 2-meter wide screen, that means a distance of three meters for the front row. The limit toward the back is more flexible, where the main factor is whether subtitles remain legible.
Measure the distance between the screen position and the last row of seats before you cut the frame. A screen that is too large for a small garden is the most common planning mistake, and with a DIY build, it cannot be corrected afterward.
How far the projector itself needs to be placed, however, does not depend on the garden, but on the device's throw ratio. You can find the exact value for your screen size and tables for all common dimensions in the projector distance calculator.
Outdoors, light output is what matters most. For the garden, a device with at least 3,000 to 4,000 ANSI lumens is recommended so that the image remains visible even at twilight. Native Full HD resolution is sufficient for screen widths up to about 2.5 meters; beyond that, 4K is worth it. Also, look for quiet fans, as you can hear every hum on a quiet summer evening.
The projector should be positioned front and center. Any angled setup sacrifices image sharpness due to keystone correction. In the garden, the device also needs a level, stable surface. A wobbly camping table is not enough; the image will shake with every step on the lawn.
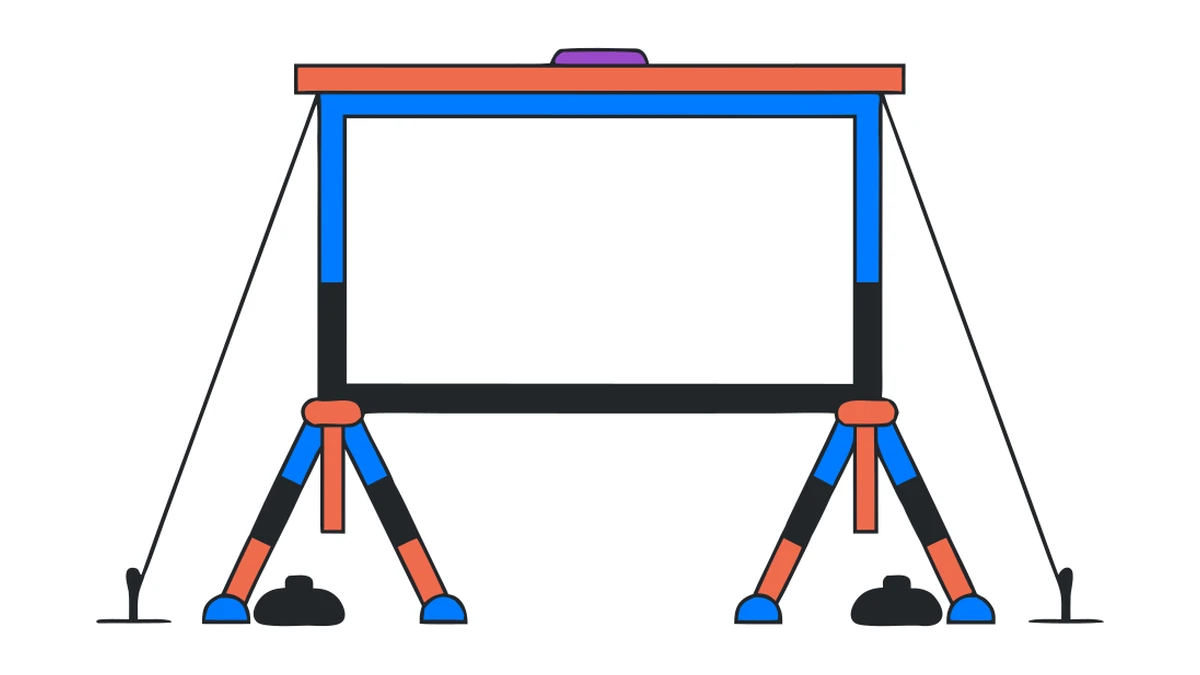
Choose a shady, dry, and preferably wind-sheltered spot in the garden. Natural anchor points like trees allow for easy mounting, but be sure to protect the trees. Freestanding frames with ground anchors provide a stable base on grass. Consider sightlines, stray light from street lamps or neighbor's windows, and traffic paths in the garden.
Screen material is susceptible to moisture. The structure should not be left outdoors permanently. Store it in a dry place when not in use to prevent mold from forming on the fabric. Tarps extend the lifespan between uses. Regular cleaning with a soft cloth and mild detergent removes dust without damaging the fibers.
Power: A cable reel with an RCD (residual current device) or a battery-powered projector with a long runtime for more flexible placement in the garden. Secure cable runs and lay them out to avoid tripping hazards.
Sound: External speakers or a small PA system provide significantly better sound than the internal projector speaker. Bluetooth speakers are flexible but often have noticeable latency. Wired speakers are the safe choice for synchronized audio.
How to avoid latency and which connection remains truly lip-sync can be found in the guide on connecting sound and projectors.
Lighting: Subtle ground lights or path lights provide orientation during breaks without interfering with image contrast. Turn off all sources of stray light in the garden before the film starts.
A DIY screen made from wooden slats and fabric often costs under 50 euros if you already own the tools. Ready-made outdoor frame screens start at 100 to 200 euros and offer better flatness with less effort. Inflatable models range from 150 to 400 euros. Also plan for: projector, speakers, cables, and possibly a power station for electricity.
If you only use the screen once or twice in the summer, you can build it yourself using a DIY guide. If you project outdoors regularly or are planning larger events, you are better off with a ready-made product or rental equipment.
Are you planning a full movie night in the garden and need a projector, sound, and setup tips in addition to the screen? You can find everything in one place in our guide to garden cinema and outdoor movie nights.
What are the advantages of a projector screen in the garden compared to a television?
How do I choose the optimal screen width for my garden cinema?
What role does planning play in setting up a screen in the garden?
How can I protect the screen in the garden from wind and weather?
What technical requirements should the projector meet for the garden cinema?
Can I also use the screen on the patio?
Check event equipment, book in 90 seconds, and choose pickup or delivery. Deposit-free and insured throughout Germany and Austria.

Wir haben dir eine Mail geschickt, bitte bestätige sie um den Rabattcode zu erhalten.