Instructions for the plug-and-play setup of our event equipment. Short video tutorials and step-by-step guides for... Show more making professional event technology so accessible and easy to understand that you can host a great event without any technical expertise.
The fastest way to connect your projector to a laptop is via HDMI cable. If no image appears, press the Windows key + P and select Duplicate; on a Mac, adjust this in System Settings under Displays. For a 100-inch image, place the projector 3.3 to 3.6 meters from the screen. This guide covers every step in a video and text, including distances, ports, and common errors.
Place the projector on a stable, level surface, plug in the power cable, and press the power button. The image will appear after about half a minute.
The shortest route is an HDMI cable from the laptop to one of the two HDMI inputs. If no image appears afterward, manually send it to the second screen from your laptop.
Check the resolution. The projector outputs Full HD at 1920 x 1080. If the laptop is set to a different value, text will quickly appear blurry. In the display settings, set the second screen to 1920 x 1080.
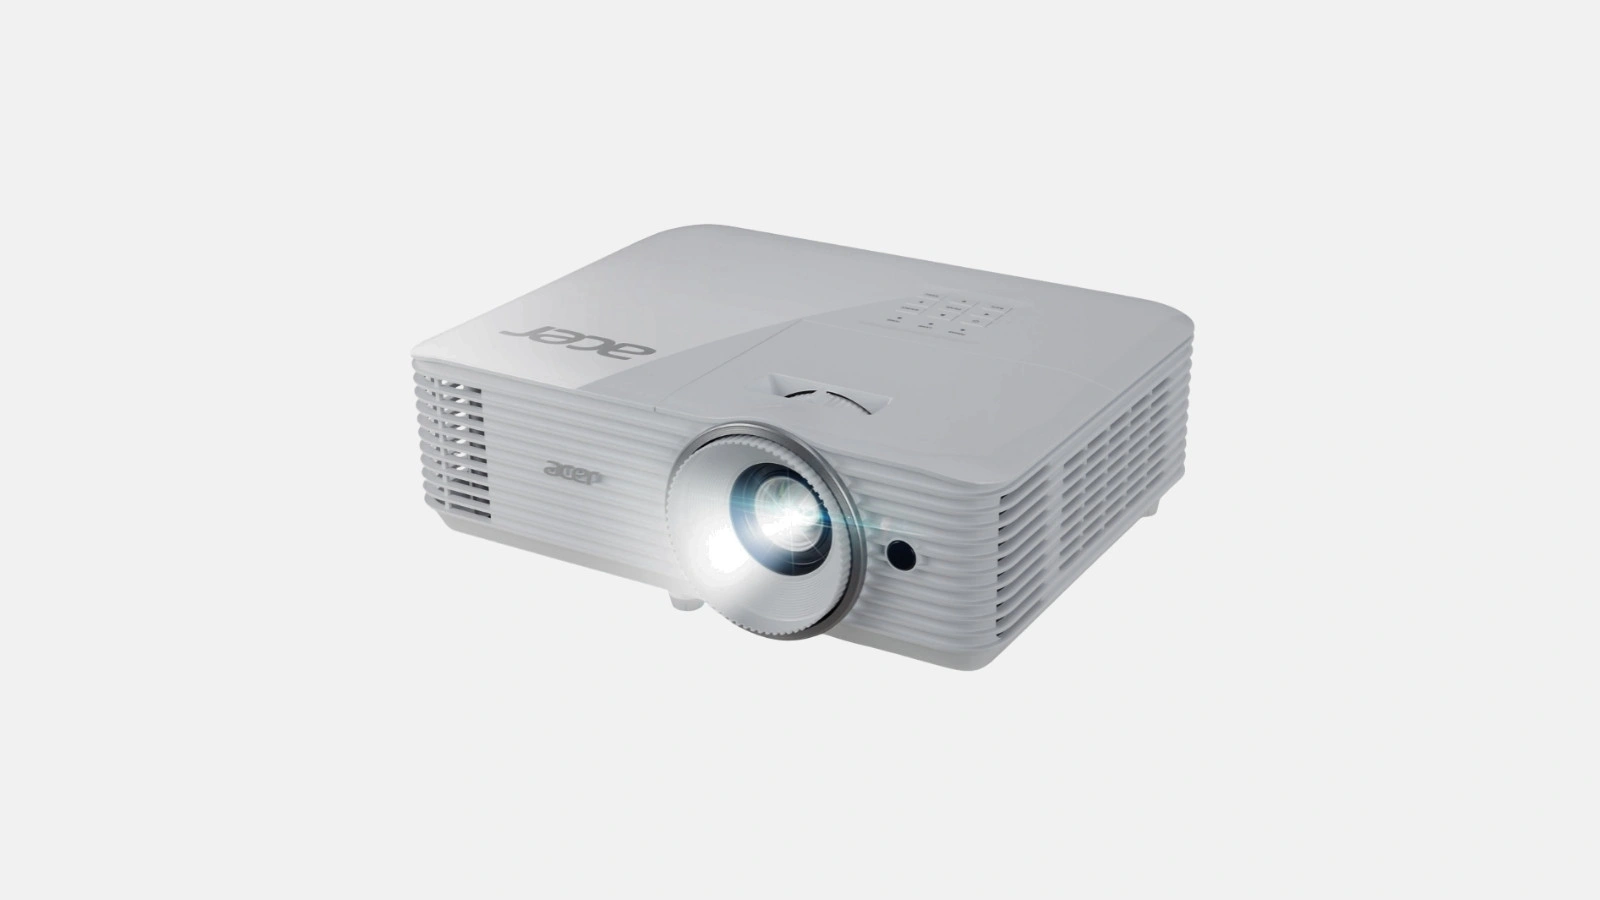
The Acer H6542BDi has two HDMI inputs and one VGA input. There is also a USB-A port and a 3.5 mm jack each for audio in and out. For everyday use, you will need HDMI and the audio output.
| Connection | What you need it for | What you need to know about it |
|---|---|---|
| 2 x HDMI | Laptop, console, streaming stick, or Blu-ray player | transmits image and sound in one cable, which is the standard |
| VGA | older laptops without HDMI | image only; sound is transmitted separately via the jack plug |
| USB-A | power for a streaming stick or the Wi-Fi adapter | does not play files from a USB drive |
| 3.5 mm audio output | route sound to a stereo system or active speakers | standard jack cable; one is not included in the box |
| 3.5 mm audio input | sound from a device connected via VGA | plays through the built-in 3-watt speaker |
| Wi-Fi | wireless image transmission from a phone or laptop | runs via EZCast and Miracast, not via Bluetooth |
Acer H6542BDi ports according to the manufacturer, as of September 2026.
For a 100-inch image, place the projector 3.3 to 3.6 meters away. The range is due to the zoom. This allows you to compensate for the last half meter without moving the projector.
| Screen diagonal | Image width | Distance to surface |
|---|---|---|
| 60 inches | 1.33 m | 2.0 to 2.2 m |
| 80 inches | 1.77 m | 2.6 to 2.9 m |
| 100 inches | 2.21 m | 3.3 to 3.6 m |
| 120 inches | 2.66 m | 3.9 to 4.3 m |
| 150 inches | 3.32 m | 4.9 to 5.4 m |
| 200 inches | 4.43 m | 6.6 to 7.2 m |
Calculated with a throw ratio of 1.48 to 1.62 in 16:9 format. The projector creates images from 28 to 305 inches.
The image fits our screen at a distance of about 3.5 meters. This results in a screen width of around 2.25 meters. How to set up the screen is explained in the screen tutorial.
Measure the distance before the event instead of guessing. Being off by a meter will noticeably cost you screen area and cannot be fixed with the zoom.
First, align the image mechanically, then use the menu. Every digital correction costs image quality, whereas the adjustable feet do not.
The built-in speaker has 3 watts. That works for a movie in the living room, but it is not enough for a garden party or a room with 30 people.
There are two ways to do this. Either use a jack cable from the projector's 3.5 mm audio output to the input of an active speaker. Or, keep the audio on the laptop and send only the image to the projector via HDMI, with the speaker connected to the laptop. The second method is more stable because the signal takes one less detour.
Which speaker suits which setting and why the audio sometimes arrives out of sync is explained in detail in the guide to audio for garden cinema.
The projector transmits the image wirelessly via Wi-Fi using EZCast and Miracast. However, it does not have a Bluetooth output for speakers, so the audio still requires a cable.
Only with limitations. With 5,200 ANSI lumens, the image remains visible in a bright room, but it loses contrast and color depth. No projector in this class can compete with direct sunlight.
For the garden, this means: wait for twilight. Before sunset, any projection will look washed out, regardless of how many lumens are on the spec sheet.
The steps above show the Acer H6542BDi. It has a native Full HD resolution, 5,200 ANSI lumens, and projects images up to 305 inches. If the projector is part of a package with a screen and cables, the presentation package tutorial will guide you through the entire set. The projector overview shows which device is best for which room.
How do I get the image from my laptop onto the projector?
How far away should the projector be from the screen?
Can I connect the projector to speakers via Bluetooth?
Can a projector be used in daylight?
Check event equipment, book in 90 seconds, and choose pickup or delivery. Deposit-free and insured throughout Germany and Austria.

Wir haben dir eine Mail geschickt, bitte bestätige sie um den Rabattcode zu erhalten.