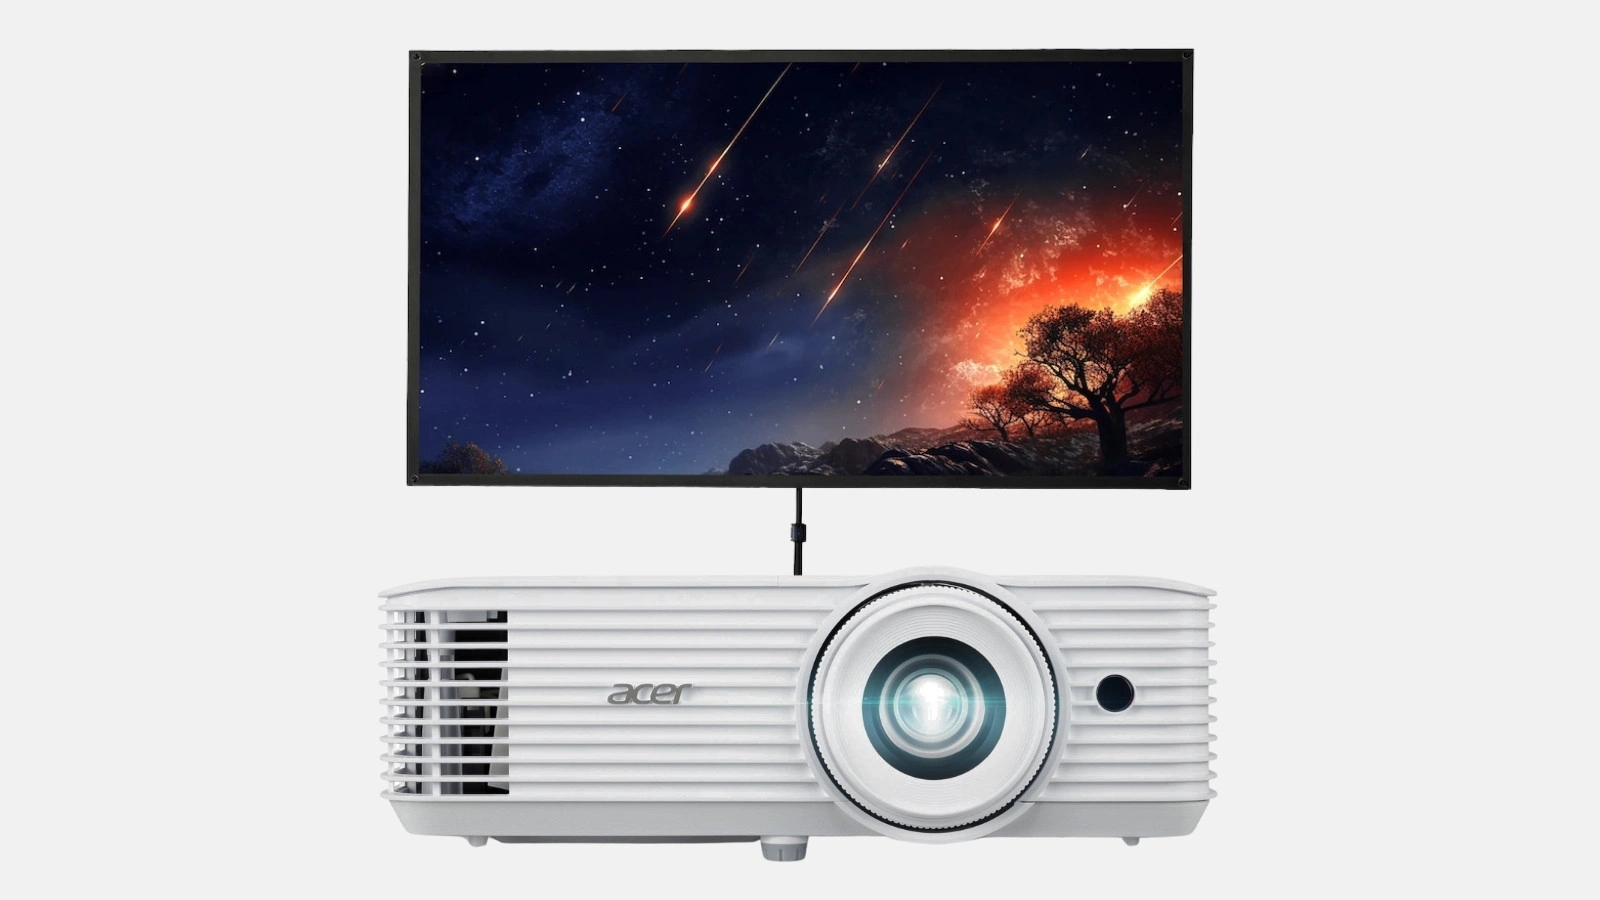
1. Projector Setup (00:00)
- Unpack the device: Carefully remove all packaging and check that the power cable, HDMI cable, and remote control are included.
- Connect power: Plug the projector into a power outlet. Ensure the voltage is correct (usually 220–240V).
- Switch on: Press the power button until the status LED lights up. Wait for the fan to start; the device takes a few seconds to boot up.
Tip: For a stable power supply, use a power strip with surge protection, especially for longer events.
2. Unpacking the screen parts (00:24)
- Open the transport packaging: Remove the screen and all necessary poles or tripod parts from the transport case or outer packaging.
- Check accessories: Ensure the tripod, pole extensions, and the screen are all present.
3. Setting up the screen tripod (00:35)
- Unfold the tripod legs: Place the tripod on a level surface to ensure it stands stably.
- Roughly adjust the height: Leave enough space above so the screen can be fully extended.
Tip: Ensure there is sufficient distance between the tripod and the projection area, as well as enough space for the audience.
4. Mounting the screen (01:15)
- Take the four metal poles of equal length from the packaging and insert each one into the designated opening at the top of the tripod until they click into place.
- Pull the screen out of the housing: Pull the screen out slowly.
- Secure it: Hook the screen onto the four eyelets on the pre-mounted metal poles.
Tip: Hold the screen with both hands while pulling it out to avoid creases.
5. Adjusting the screen height (01:41)
- Adjust the telescopic pole: Pull the center pole or telescopic mount upward to bring the screen to the desired height.
- Check the lock: Secure the mount so the screen remains stable.
Tip: Positioning the screen higher improves visibility for the audience in the back rows.
6. Connecting the projector to a laptop (01:54)
- Select HDMI or VGA: Most modern laptops and projectors use HDMI for the best image quality. Older devices support VGA.
- Connect the cable: Plug one end into the laptop (output) and the other into the projector (input).
- Test the signal: Turn on your laptop. In many cases, it will automatically detect the second display.
Tip: If your laptop only has USB-C, you will need a suitable adapter (USB-C to HDMI or VGA).
7. Projector image settings (02:12)
- Check image mode: Use the projector menu (or remote control) to select the appropriate mode, e.g., "Presentation" or "Bright".
- Color adjustment: Adjust brightness, contrast, and color saturation until the image is clear and sharp.
- Keystone correction: Use the keystone correction function if the image appears distorted.
Tip: A well-configured "Gaming Mode" can also provide good response times and bright colors for presentations.
8. Adjusting image angle and height (02:43)
- Change projection angle: Adjust the front stand or the screw-in feet so that the image is aligned parallel to the screen.
- Zoom and focus: Adjust the image size and sharpness using the dials on the lens.
Tip: Keeping the angle between the projector and the screen as small as possible reduces distortion and ensures a razor-sharp image.
9. Connecting the projector to speakers (03:09)
- Audio output on the projector: Some projectors (like the Acer H6542BDi) have an audio out (3.5 mm jack). Connect a speaker cable there.
- Using external speakers: If you have separate speakers or a mixing console, connect the output to your stereo or PA system.
Tip: If you are renting event equipment (e.g., speakers), ask to have the appropriate audio cables included.
10. Troubleshooting solution 1 (03:27)
- No image or incorrect aspect ratio:
- Check if your laptop is in "Duplicate" or "Extend" mode.
- Set the correct resolution (e.g., 1920×1080) on your laptop.
- Ensure the projector is set to the correct input (HDMI, VGA, etc.).
11. Troubleshooting solution 2 (03:41)
- No sound or crackling audio:
- Test different audio cables and check the volume settings on your laptop.
- Check the audio mode on the projector and, if applicable, on the external speaker system.
Tip: Often, restarting both the projector and the laptop helps to reset faulty connections.