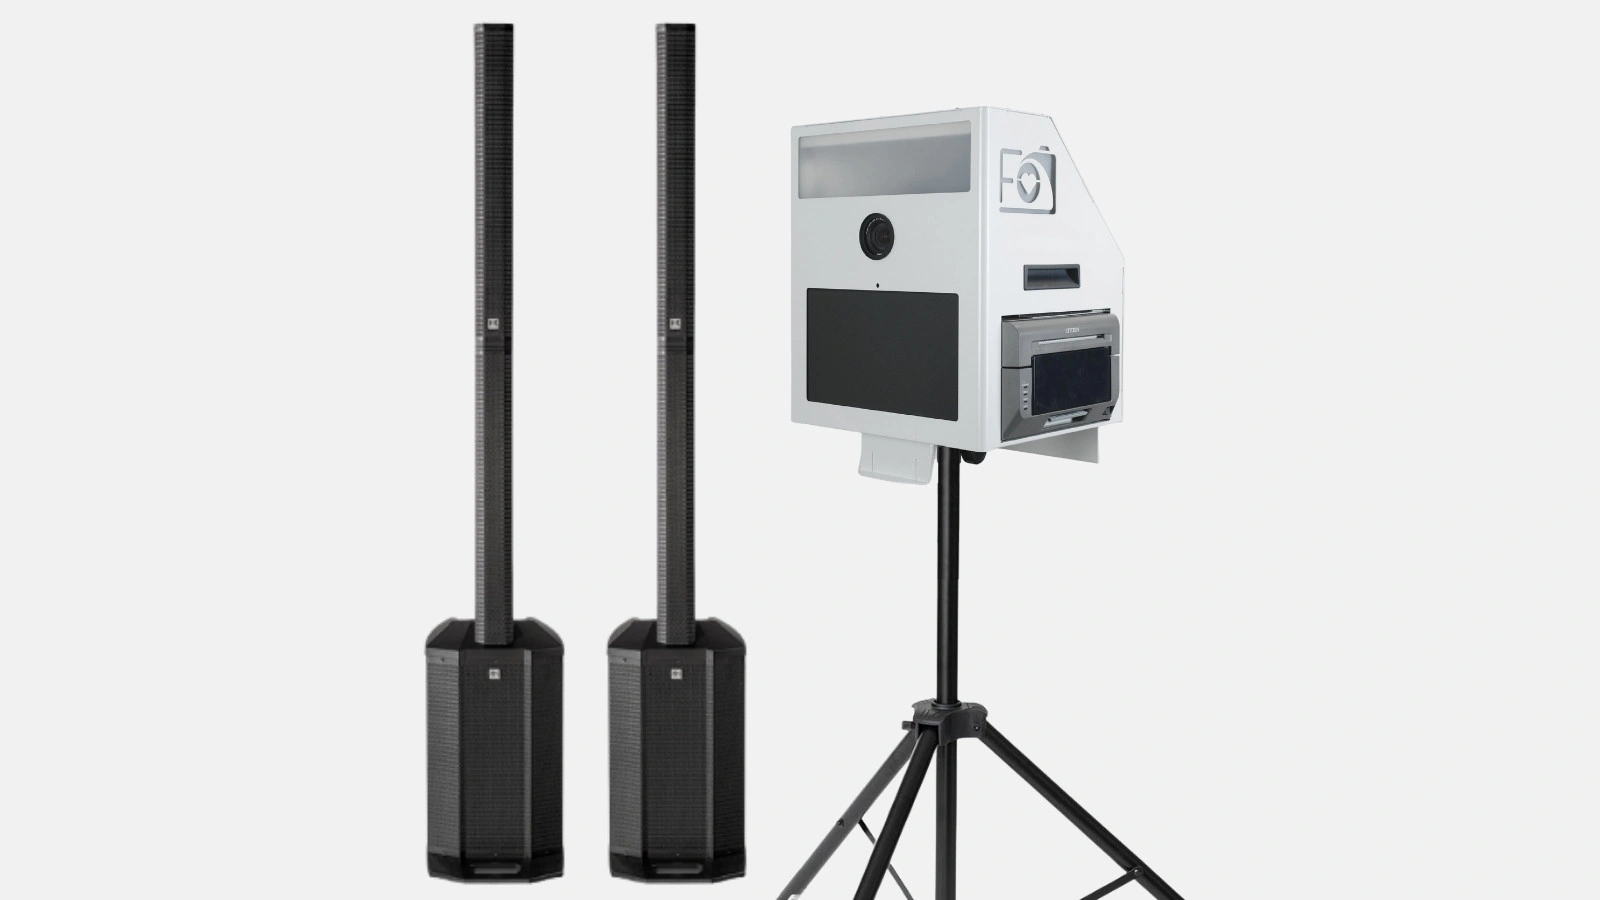
Part 1: Setting up the sound system (HK Audio Polar 12)
The HK Audio Polar 12 provides crystal-clear sound for speeches and music and is designed for events with up to approx. 160 people. Further details on the sound system can be found here.
1. Setting up the HK Audio Polar 12 (Video from 00:00)
- Attach the column: First, insert the middle section into the subwoofer and then place the top element on top. Ensure that the elements are securely locked in place.
- Power connection: Connect the HK Audio Polar 12 to a suitable power source. Switch the system on using the power switch.
Tip: Ensure the surface is stable so that the column system does not wobble.
2. Connecting speakers via Bluetooth (Video from 00:39)
- Activate Bluetooth mode: Activate Bluetooth mode on the HK Audio Polar 12.
- Pair mobile device or laptop: Turn on the Bluetooth function on your smartphone, tablet, or laptop. Search for available devices and select "HK Audio Polar 12".
- Confirm connection: A short signal tone or an LED indicator confirms successful pairing.
Tip: For larger events, you can connect multiple Bluetooth speakers by connecting additional columns (next chapter) or extra devices at the back.
3. Alternative audio sources (Video from 01:06)
- AUX / Jack: Use the 3.5 mm or 6.3 mm jack connection to connect an MP3 player, laptop, or DJ controller directly.
- RCA / Stereo input: Some devices only have this cable. Connect via RCA jacks (red/white).
- XLR: For professional DJ equipment or mixing consoles, you can use XLR connections for optimal sound quality.
Tip: When renting a sound system, make sure you have the right adapters and cables. Otherwise, you can add the "Cable Guarantee" to your cart.
4. Pairing a second HK column (Video from 01:26)
- Use Mix-Out: You will find a Mix-Out output on your first HK Audio Polar 12. Connect this via XLR cable to the Line-In (or "Mix In") of the second HK Audio Polar 12.
- Adjust levels: Adjust the overall volume and EQ settings on both columns so that they are harmoniously balanced.
- Enhance room sound: Pairing two columns is ideal for providing even sound coverage in larger rooms or open-air areas.
Tip: Experiment with the positioning of both columns to avoid reflections and achieve the best sound.
5. Connection details (Video from 01:44)
- Front panel overview:
- Gain control for input channels (Mic/Line)
- Master volume for overall level control
- Bluetooth section (possibly paired with LED indicator)
- Rear connections:
- XLR/jack combo inputs for microphones or instruments
- RCA inputs for stereo sources
- Mix-Out for expansion with additional speakers
Tip: Make a note of the channels you are using (e.g., "Microphone on channel 1, music on channel 2") to keep track.
6. (Optional) Connecting a microphone (Video from 02:11)
- Wireless microphone: Connect the wireless microphone receiver to an available mic/line input on the HK Audio Polar 12 (usually via XLR or jack).
- Select input: Ensure the correct mic/line setting is selected (if applicable).
- Adjust levels: Start with the gain control set low. Increase the volume step by step until the voice is clear and audible without feedback.
Tip: The integrated 4-channel mixer on the HK Audio Polar 12 provides control over various audio sources.
Part 2: Setting up the photo booth
The Renty photo booth ensures unforgettable snapshots and plenty of fun at your wedding. Further details about the photo booth can be found here.
1. What's in the box
When unpacking, check that all parts are present:
- Photo booth unit with integrated camera, touchscreen, printer, and flash
- Tripod
- Power cable
- Props (optional)
2. Setting up the photo booth (video from 02:53)
- Position the tripod: Set up the included tripod in a suitable location with a stable surface. Choose a spot that offers your guests enough space and has an appealing background.
- Attach the photo booth unit: Securely mount the photo booth unit onto the tripod.
- Connect power: Connect the photo booth to the power cable and a wall outlet. Also connect the printer to power and to the photo booth via USB cable.
Tip: Make sure all cables are routed safely to avoid tripping hazards.
3. Turning the light on and off (video from 04:16)
- Check lighting: The Renty photo booth features an integrated high-performance flash that ensures well-lit photos. The flash triggers automatically every time a photo is taken.
- Manual light adjustment: The photo booth's continuous light can be adjusted manually if needed using the touch button on the back.
Tip: Test the lighting with a sample photo. Good lighting is crucial for the quality of your photo booth pictures.
4. Taking and printing photos (video from 04:28)
- Start the photo booth: Turn on the photo booth. The software will start automatically and the touchscreen will become active.
- Intuitive touch operation: Your guests can easily start the photo process via the touchscreen. There is a large "Start" button for this purpose.
- Instant printing: After the photo is taken, it will be displayed on the screen and can be printed immediately. Your guests can take their memories home right away!
- No supervision needed: The operation is so simple that your guests can have fun on their own.
Tip: The paper and ink cartridges for the prints included in the package are already loaded in the printer or are provided separately.
5. Rare troubleshooting: Paper jam (video from 04:55)
- Open the printer: Should a (rare) paper jam occur, carefully open the designated flap on the printer.
- Remove paper: Carefully pull the jammed paper out in the direction of travel to avoid damaging the printer.
- Restart: Close the printer again and, if necessary, restart the printing process via the photo booth software.
Tip: Handle the package with care during transport to prevent paper jams.