Instructions for the plug-and-play setup of our event equipment. Short video tutorials and step-by-step guides for... Show more making professional event technology so accessible and easy to understand that you can host a great event without any technical expertise.
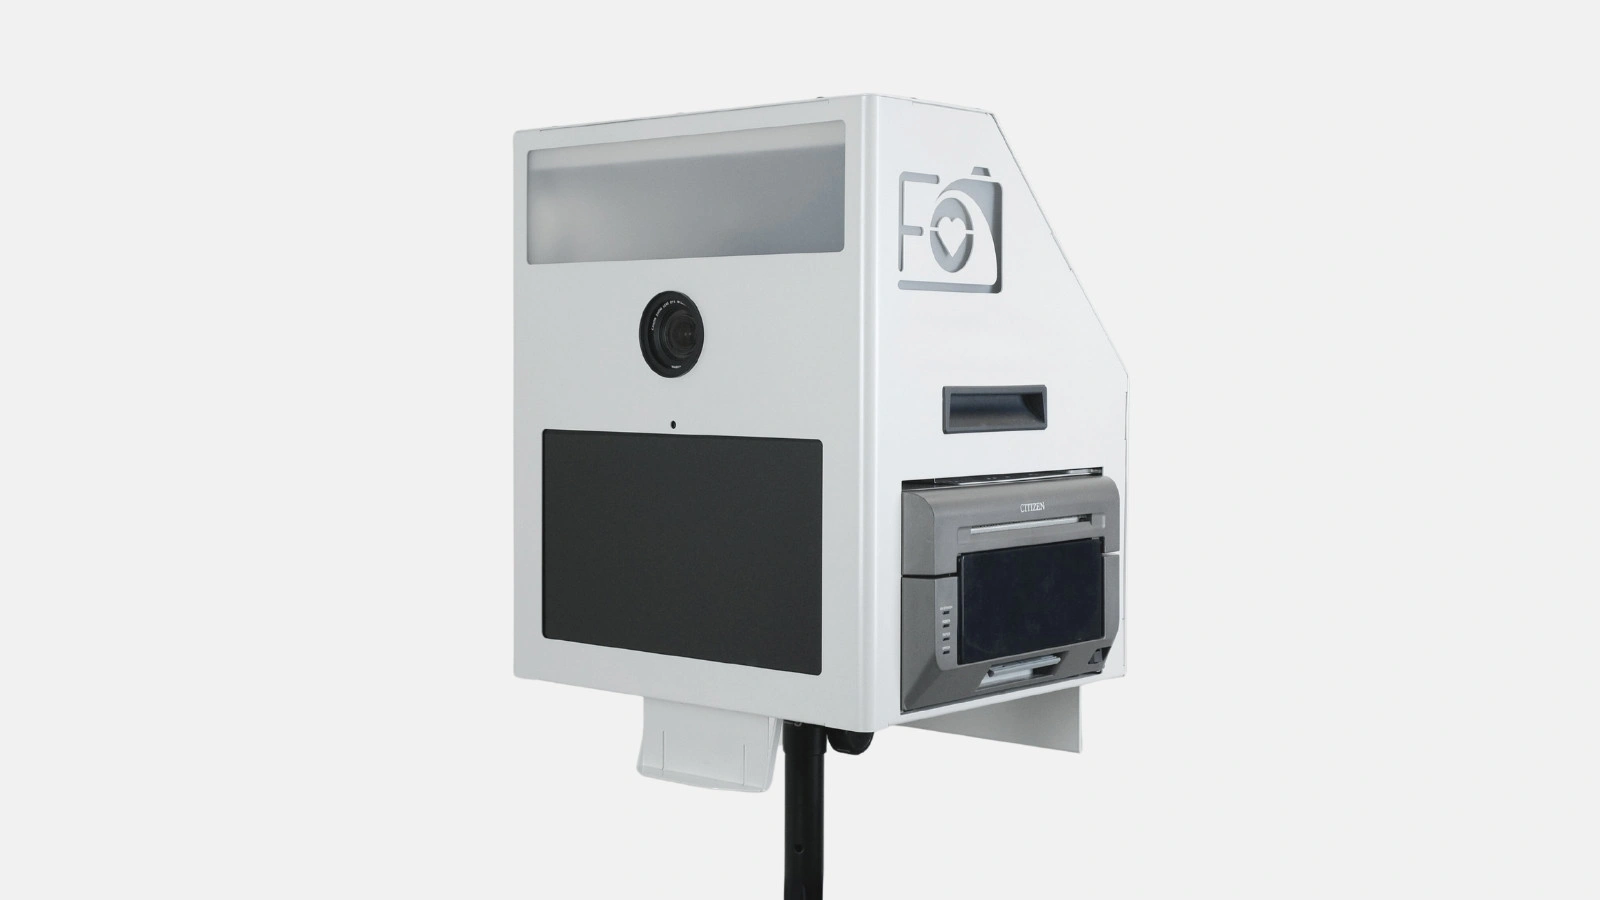
Setting up the photo booth takes 5 to 10 minutes and is easiest with two people. You need about 2 x 2 meters of space, a standard 230V power outlet nearby, and a stable surface for the tripod. This guide shows every step in a video and in writing, plus a pre-event test run and a printable sign for your guests.
For the setup, you need about 2 x 2 meters of space, a nearby power outlet, and 5 to 10 minutes. No tools are required; the box arrives fully configured.
| What | What to expect |
|---|---|
| Space | about 2 x 2 meters for the box and tripod. For queues and distance from the wall, plan for 3 x 3 meters |
| Power | a standard 230V outlet within reach, plus a second one for an external printer. If the cable isn't long enough, use an extension cord |
| Surface | firm and level to ensure the tripod stands securely |
| People | fastest with two people; one holds the tripod, the other attaches the box |
| Time | 5 to 10 minutes until the first photo |
| In the package | Tripod, photo booth with camera and screen, power cable, and USB cable for external printers. Photo paper and ink cartridges are included with printing models |
Information for the current photo booth model, as of September 2026.
The steps below apply to the photo booth with a printer. For the Photo Booth Mini, instant printing and paper jams are not applicable; the rest is the same. If you prefer not to set it up yourself, one of our team members can do it for you. Delivery with setup costs 59 euros per hour or part thereof.
Tip. Where you place the photo booth matters more for the pictures than any setting. As a rule of thumb, leave about a meter of space between the guests and the wall to avoid harsh shadows in the photo. A simple background keeps the focus on the people.
Place the booth in a visible spot, but not in the main walkway between the bar and the dance floor.
Secure all cables so that no one trips over them. It is best to place props on a table nearby.
Note. Good lighting determines the quality of the pictures. Dark corners and strong backlighting will noticeably reduce quality. A spot with a bright wall behind the camera is usually a better choice than a window.
Tip. The Photo Booth Print comes with 150 prints, and the Photo Booth Print Pro with 400. That is plenty, even if the booth is busy all night long.
Plan for 10 minutes for a test run as soon as the booth is set up. Later on, there will be a line, and no one will have the peace and quiet to test it.
The most common issues during an event are paper jams and loose cables. Both are easy to fix in just a few steps; a paper jam takes these three.
If a device with an external printer continues to show errors, unplug the printer, wait a moment, and plug it back in. This will cause the printer to perform a full reboot. If that doesn't help, give us a call; we are available throughout the entire event day.
Tip. Most paper jams occur during transport. If you carry the package carefully and keep it upright, this rarely happens.
A sign next to the booth answers the questions you would otherwise be asked all evening. It’s always the same three questions: How do I start, where does the photo come out, and how do I get all the photos? Print out these four steps and place them next to the photo booth, ideally in a picture frame or on a stand.
Four steps, that's all it takes.
Please do not move the tripod or cables. Have fun posing!
You set up the photo layout before the event, not on the day itself. You can design the frame around each image for free in the layout editor, adding a logo, names, date, or a slogan. It should be finalized at least one day in advance.
It is best to mention any special requests regarding the layout or the box interface when you book. That way, everything is ready to go when you pick up the box or when we deliver it.
All photos are stored in the online gallery, which you and your guests can access via a QR code. You don't need to worry about storage, and you won't need a USB stick either.
Images can be downloaded in full resolution, printed, or shared directly from there. Guests can also have their photos sent to them via email right at the box. It is best to clarify with us before the event how long the gallery will remain accessible so you know what to tell your guests.
The steps above show the model with a printer. The Photo Booth Mini is purely digital; it has no printer and therefore no paper jams. Photos are available via the gallery. We have recorded a separate setup video for it. Which model includes what can be found in the photo booth overview.
How long does it take to set up the photo booth?
How much space and what kind of power supply does the photo booth need?
Can my guests use the photo booth without any explanation?
Do I need my own photo paper or ink cartridges?
Check event equipment, book in 90 seconds, and choose pickup or delivery. Deposit-free and insured throughout Germany and Austria.

Wir haben dir eine Mail geschickt, bitte bestätige sie um den Rabattcode zu erhalten.