Phone
Mon - Sun 8:00 AM - 10:00 PM
No deposit required
Insured
Personal
Instructions

Audio Mixer Video-Bedienungsanleitung

Instructions for the plug-and-play setup of our event equipment. Short video tutorials and step-by-step guides for... Show more making professional event technology so accessible and easy to understand that you can host a great event without any technical expertise.

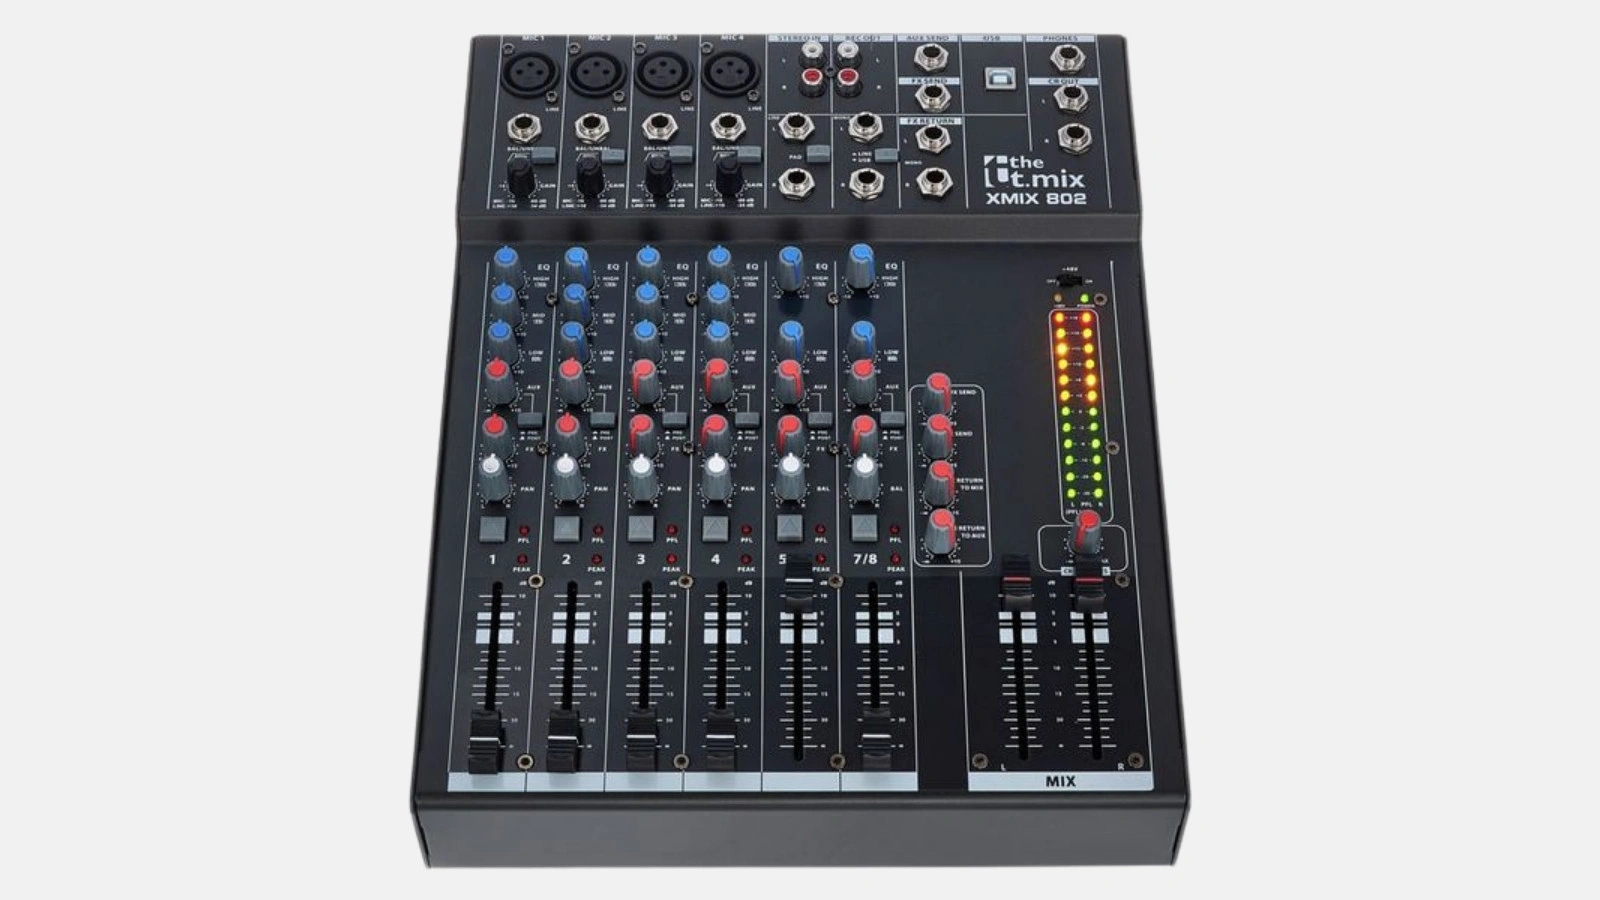
With this step-by-step guide, you will learn how to set up your audio mixer professionally. You can also watch our video tutorial:

1. Mixer audio inputs (00:00)

  • Get a channel overview
    The t.mix 1002 FX USB has several audio inputs (e.g., XLR for microphones, line inputs for instruments, and possibly USB/playback channels). First, check how many channels you actually need.
  • Connect cables
    Connect your audio sources (microphone, laptop, instrument, etc.) to the appropriate inputs. Make sure you use the correct cable format (XLR, jack, RCA).

Tip: If you need support for an event, you can easily book technical assistance during the checkout process.

2. Mixer channel settings (00:12)

  • Adjust gain and EQ
    First, set each channel to a suitable input level using the gain control so that it does not distort. Then, you can shape the sound using the equalizers (highs, mids, lows).

Tip: Adjust levels and effect intensity using headphones so you can hear exactly whether the volume and sound are right.

3. Master channel (overall audio) (00:30)

  • Control overall volume
    The master fader (or master volume) determines the volume you send to your speakers or recording devices. Only turn it up once you have set a clean level on the individual channels.
  • Signal monitoring
    Thanks to the LED level display, you can see if the signal is distorting. Keep levels in the green or slightly yellow range if possible.

Tip: If you have a separate Soundboks or other active speakers, also pay attention to the levels on the speakers themselves.

4. Mixer audio outputs (01:03)

  • Main Out
    The main outputs route the mixed signal to power amplifiers, active speakers, or the computer (for two-way USB connections).
  • Monitor Out / Headphones
    Many audio mixers have special outputs for stage monitors or headphones. Use these to check the sound independently of the master mix.

Tip: If you want to rent event technology, check in advance which cables and adapters you need for different output types (XLR, jack, etc.).

5. Connecting a microphone (01:19)

  • Choose XLR or jack connection
    Use the mixer's XLR or jack inputs for microphones. XLR inputs usually have integrated preamps and, if necessary, phantom power (48V) for condenser microphones.
  • Adjust level and sound
    Set the gain and EQs (highs, mids, lows) accordingly. Test the microphone with both a loud and a quiet voice to avoid distortion.

Tip: Do you need multiple microphones? A 10-channel mixer like the t.mix 1002 FX USB offers enough inputs for smaller live performances or party hosting.

6. Connecting an instrument (02:07)

  • Line input or Hi-Z
    Depending on the instrument (guitar, keyboard, electronic drums), choose the appropriate jack input. Many mixers have Hi-Z switches for electric guitars or basses so that the sound comes through optimally.
  • Adjust sound
    Again, set the gain, EQ, and any effects per instrument. Make sure that the frequencies of the microphone and instrument do not clash.

Tip: For a clean instrument performance, a little hall or reverb effect can give the sound more depth without overloading the signal.

‍

Microphone FAQ

Häufige Fragen zu Audio Mixer

Do I really need an 8-channel mixer?

Can I use the mixer for DJ applications?

Can I connect an electric guitar directly to the mixer without an additional effects unit?

How many devices can I connect?

Ready to rock your event?

Check event equipment, book in 90 seconds, and choose pickup or delivery. Deposit-free and insured throughout Germany and Austria.

Geschenk

Jetzt 10% Rabatt sichern

Jederzeit abmeldbar. Ausgenommen sind bereits reduzierte Aktionspakete.

Fast geschafft!

Wir haben dir eine Mail geschickt, bitte bestätige sie um den Rabattcode zu erhalten.

Dein Rabattcode